Each and every application has database and It Is very Important to verify that new Inserted or updated record In database Is proper or not. In manual testing, We are executing queries manually to verify, update or delete records but If you are using selenium WebDriver as automation tool then
there should be some way to do same thing using script. My goal Is to show you that how to perform database testing using selenium WebDriver.
Download MySQL Installer
We will learn how to perform database testing using selenium WebDriver with MySQL database. First of all, We need to download MySQL Installer and then we will Install It. Steps to download MySQL are as bellow.
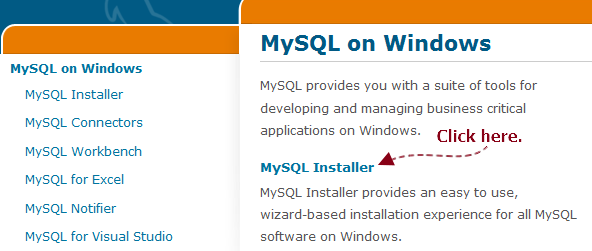
- Go to MySQL on Windows Download Page
- Click on MySQL Installer link as bellow. It will take you to "Download MySQL Installer" page.
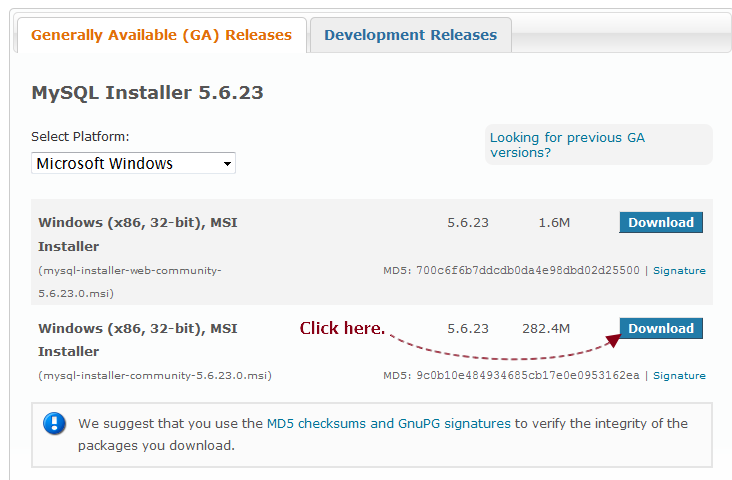
- On "Download MySQL Installer" page, Click on Download button of "Windows (x86, 32-bit), MSI Installer" as shown bellow. It will ask you to login or register.
- On login or register page, You can login using your existing oracle account or you need to create new account. After Login, It will take you to Begin Your Download page as bellow.

- It will show you popup to save mysql Installer file as bellow.

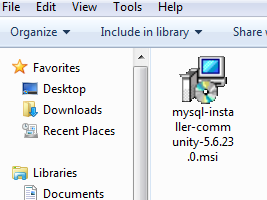
- Click on Save File button. It will start downloading file and get file like bellow.
Install MySQL Server Using MySQL Installer
Now we have MySQL Installer file using which we can Install MySQL server. Perform bellow given steps to Install MySQL server.
- Double click on MySQL Installer msi file. It will check your system configuration as bellow.

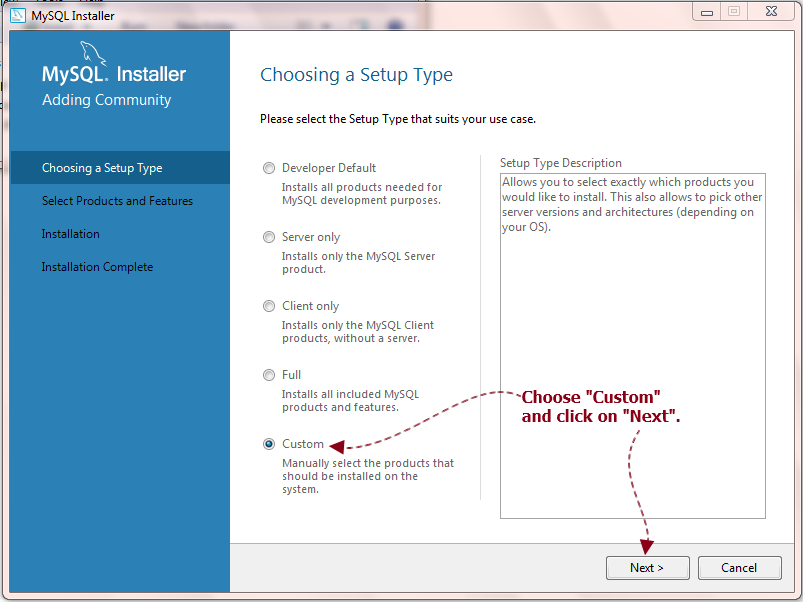
- After checking your system configuration, It will open MySQL Installer screen as bellow. Select Custom and click on Next button.
- On Next screen, Add MySQL server In Features to be Installed box and click on Next button as shown bellow.


- It will show you ready to Install MySQL on next screen as bellow. Click on Execute button.

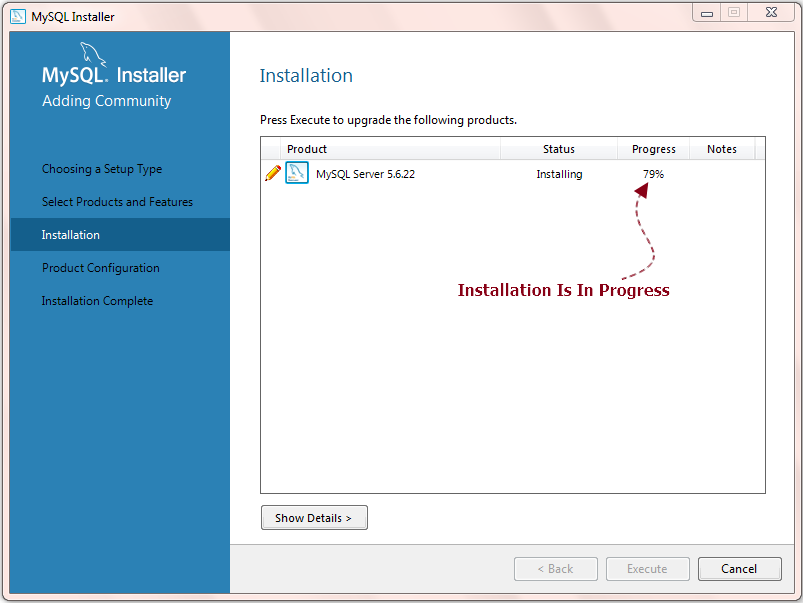
- It will start Installing MySQL server as bellow.
- When Installation completed, Status will display Ready To Configure. Click on Next button as bellow.

- On next screen, add port number = 3306 and click on Next button.

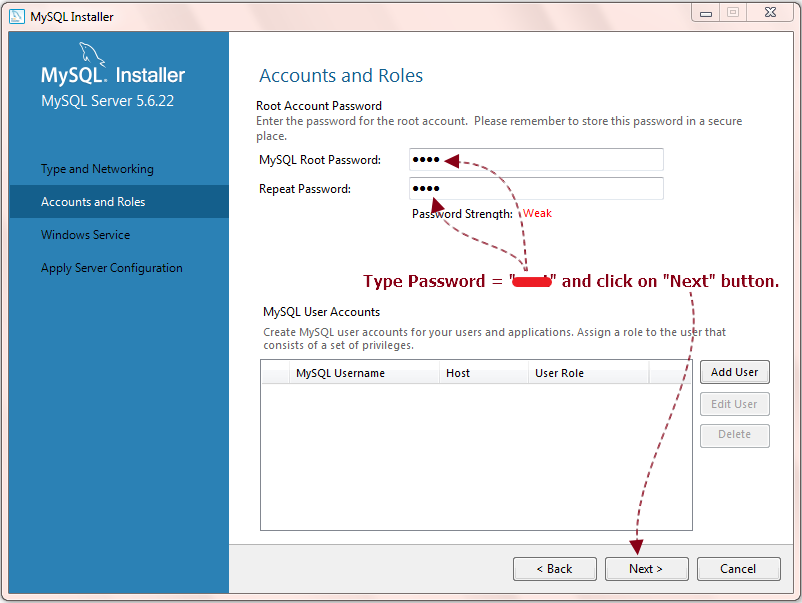
- On next screen, Set password and repeat password and click on Next button.
Note : Please remember your password. It will be required during Login In MySql. We will use It In test scripts.
- On Next screen, keep all settings as It Is as shown In bellow Image and click on Next button.

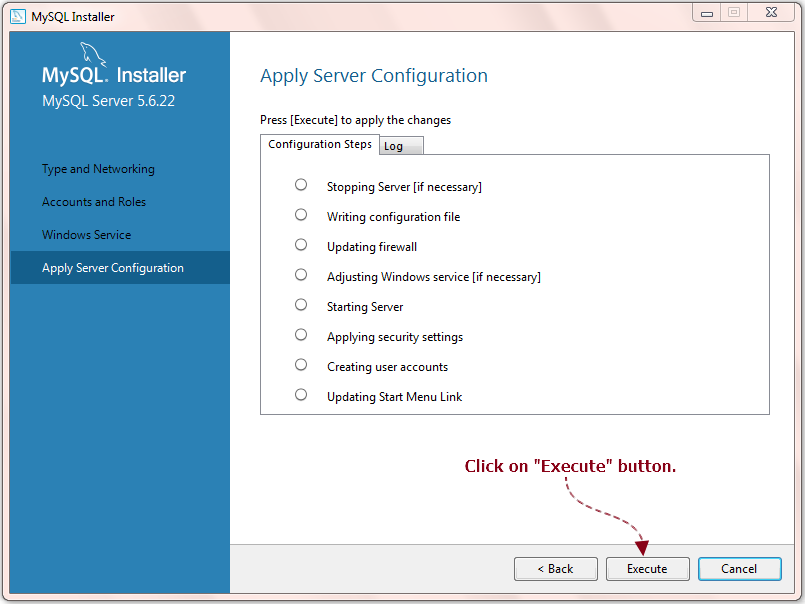
- Next screen will show you apply server configuration steps. Click on Execute button. It will apply all server settings one by one.

- When server configuration applied, click on Finish button as bellow.

- Click on Next button on product configuration step.

- Click on Finish button on Next screen to finish MySQL server Installation process.

- When Installation completed, You will see MySQL Command Line Client option In Start menu of Windows as bellow.

Now MySQL Is Installed In your system. We will see how to create new table and execute query In MySQL database manually In Next step.
No comments:
Post a Comment